Complete instructions on how to prepare the surface before painting
For the new paint to last and look professional, the surface must be properly prepared. Learn the whole procedure step by step.
Surface preparation is an absolutely crucial stage of any painting process. Whether you're spraying a small part on a scooter, repairing scratches on a car or refurbishing furniture, without proper cleaning, sanding and levelling of the substrate, even the best spray paint has no chance of lasting. In this article, we'll cover a practical, step-by-step surface preparation procedure that can be handled by both the do-it-yourselfer and the more experienced hobby painter. We will use specific products from the COLORIT range that have a proven track record of quality.
Step 1: Thorough degreasing of the surface
Dirt, grease, wax residues or silicones are among the most common causes of paint peeling or "herringbone" later on. Therefore, the first and unavoidable step is a thorough degreasing. We recommend using a technical spray cleaner that effectively removes grease, dust and chemical residues from previous finishes. It is applied directly to the surface and wiped off with a clean microfiber cloth.
Tip: Never use regular window cleaner or detergent. They leave a residue that adversely affects paint adhesion.
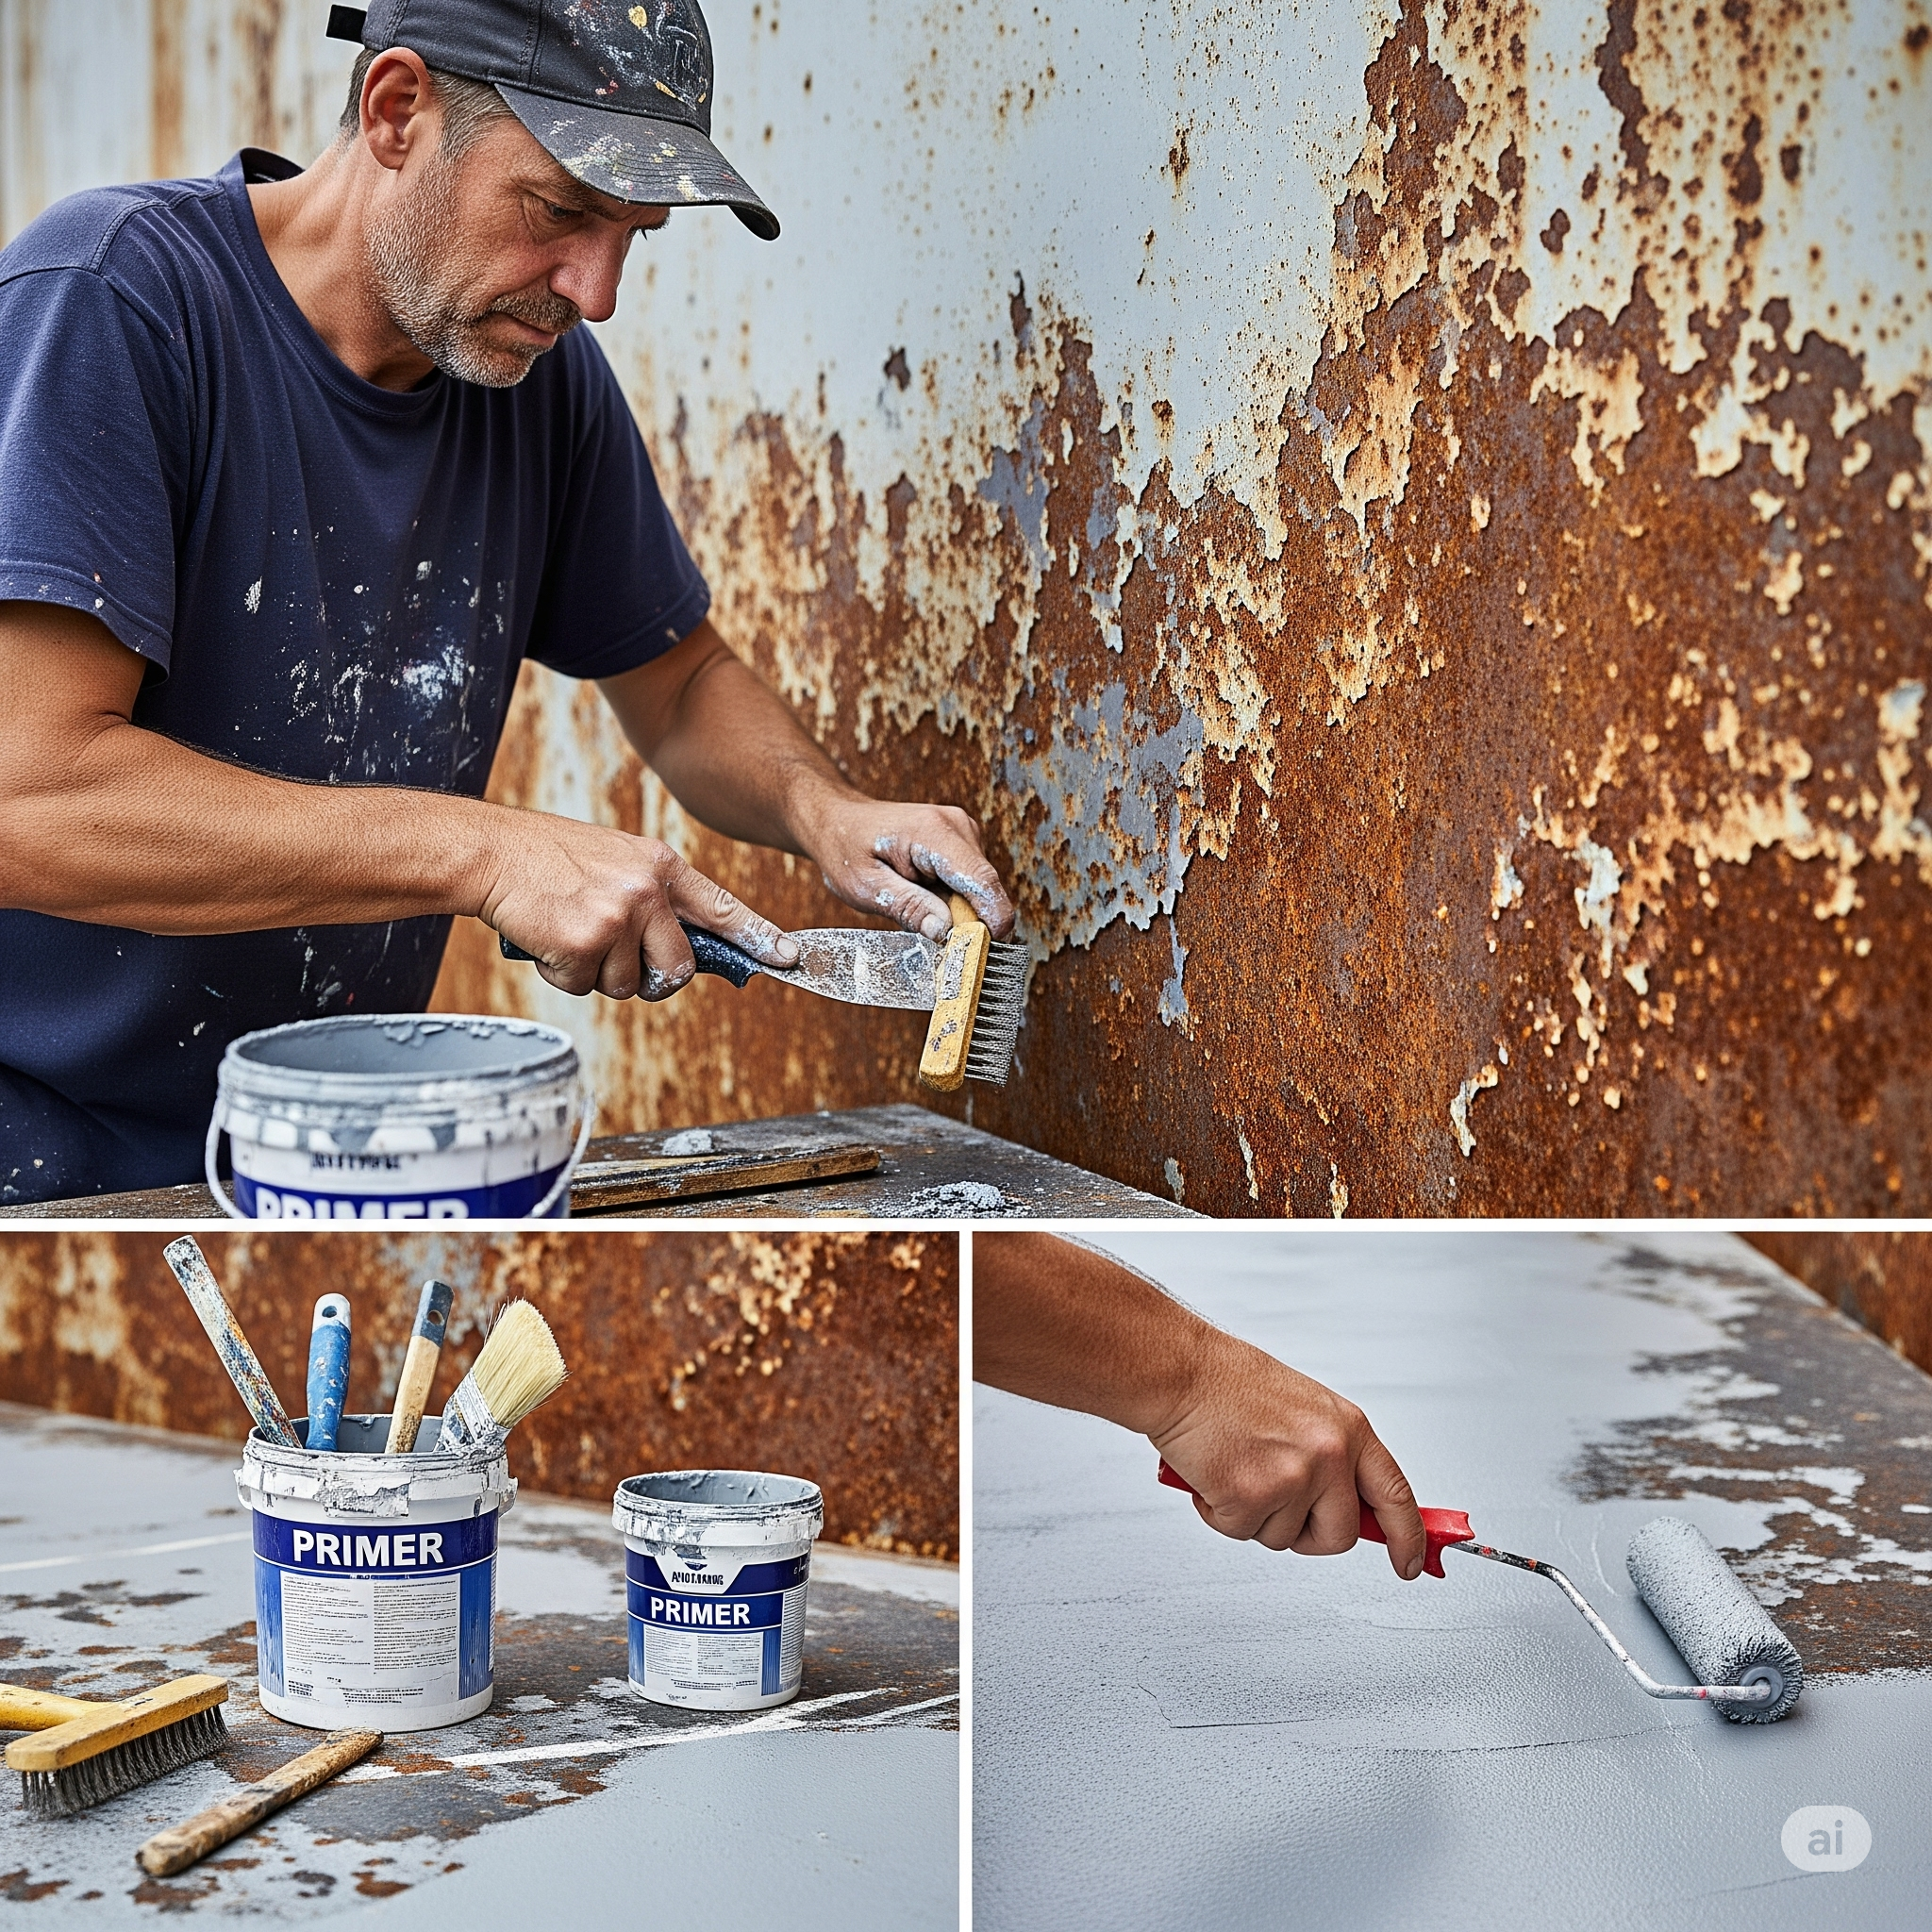
Step 2: Sanding for better adhesion
Sanding is essential both when removing old paint and when roughening smooth surfaces to improve the adhesion of the new coat. If the surface stays smooth and shiny, the new varnish will have nothing to grab onto and will start to peel off after a short time.
- For plastic parts (e.g. bumpers, interior trims) use sanding sponges or fine sandpaper (P400-P600).
- For metal and painted surfaces, we recommend starting with P320-P400 and finishing with the finer P600-P800.
- Coarser blemishes and old varnish can also be removed mechanically - a disc sander or eccentric sander will make the job easier on larger areas.
After sanding, it is important to clean and degrease the surface again as oils or abrasive residues may be released during sanding.
Step 3: Apply filler to unify the surface
Even a perfectly sanded surface is not always ready for painting. Minor scratches, pores, fine unevenness or transitions between materials need to be smoothed out. This is done with so-called fillers and spray sealers. COLORIT offers two reliable products:
- Spray Putty: A darker grey filler with excellent filling ability, ideal for minor scratches and coarser substrates.
- Rustbreaker 1K-Filler. Excellent adhesion to metal, plastic and old paint.
Application procedure:
- Shake the spray for at least 2-3 minutes.
- Apply in 2-3 thin coats from a distance of approx. 25 cm.
- Allow to dry between coats (approx. 10 minutes).
- After drying (approx. 30-60 minutes depending on the environment), sand with a fine emery cloth (P800-P1000) until the surface is perfectly smooth.
Caution: if the filler does not dry completely or is oversprayed too heavily, it may later "slump" - the paint will scratch or tarnish. Observe the prescribed drying times and apply thinner coats.
Typical mistakes and their consequences
- Improper degreasing: residual grease will cause non-adhesion and peeling.
- Insufficient sanding: The new paint peels or maps.
- Wet surface overspray: Paint "waves" or does not bond properly to the substrate.
- Filler neglect on old surfaces: unevenness and blemishes will show through the topcoat.
- Too thick coats: Seepage, drying on the surface and changes in appearance can occur.
Who is this procedure suitable for?
This guide will be appreciated by DIYers who want to repair a fender or repaint plastic parts, as well as by workshop professionals who need a stable and predictable result. Products such as Spray Putty and 1K-Filler from COLORIT have proven quality and excellent compatibility with subsequent acrylic and effect paints (Cosmos Lac, Macota, etc.).
Surface preparation before painting is perhaps the most important part of the whole process. It can make the difference between a smooth, durable and aesthetically pleasing result or a week later it will start to peel and crack. This is where investing in quality products and a careful approach pays off the most. Thanks to the COLORIT range, which includes everything from degreasers to fillers to topcoats, you can manage the whole process at home with a result you won't have to be ashamed of.