How to properly renovate a vintage car step by step
Detailed step-by-step instructions for all vintage car enthusiasts who want to restore their car’s lost shine.
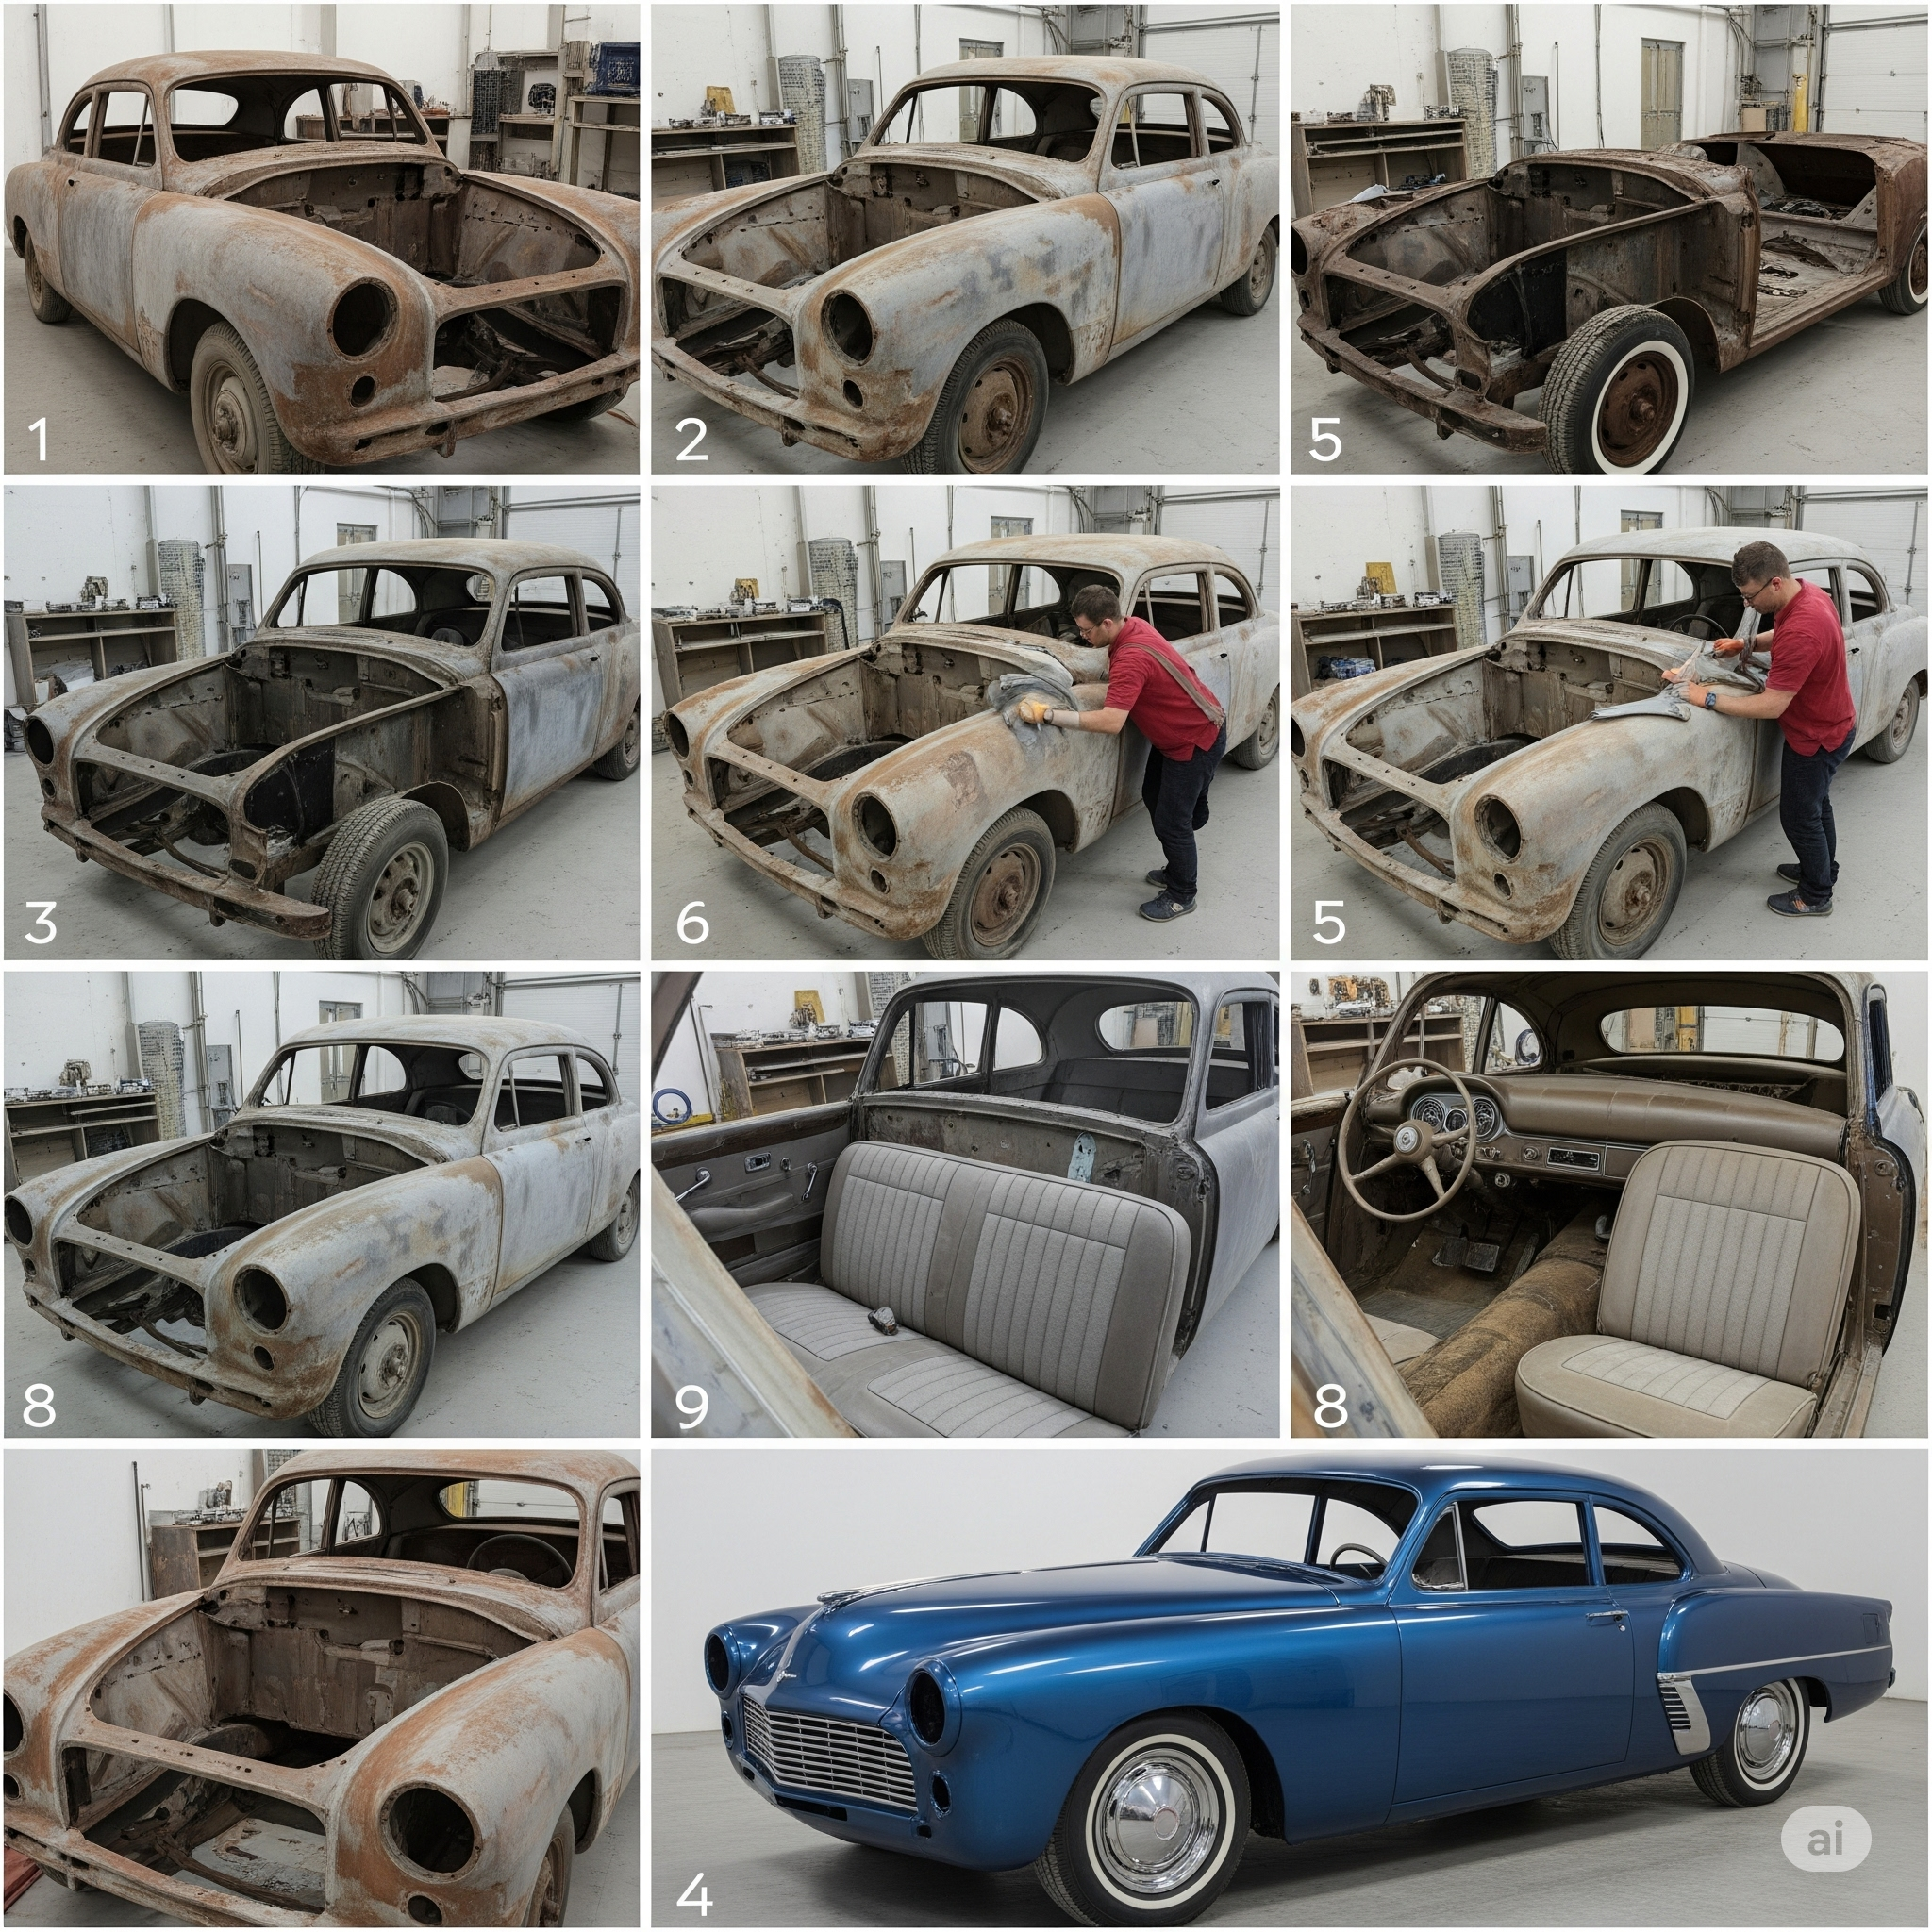
"It was 1982. In my grandfather's garage there was a car that shaped my passion - a Skoda 110 R Coupé. When I uncovered it years later, I was greeted by the smell of old interior, peeling paint and ominous rust creeping from the wheel arches. I could have sent it to the scrapyard. But instead, I decided to restore it."
So begins a story every vintage car lover knows. Renovating an old car is not just a technical task, it's an emotional challenge where patience, consistency and the right choice of products win out.
1. Car diagnostics
Before you pick up any tool or spray, you need to know what you're dealing with. Find out:
- Extent of corrosion - surface only or deep structural?
- The condition of the chassis, bodywork, cavities - look for hidden areas too.
- Preservation of paint, seals, undercoating - for proper product selection.
Spare no time for a thorough mechanical cleaning, especially with a wire brush, sandpaper or sandblasting where needed.
2. Rust removal and conversion with BRUNOX Epoxy
One of the most crucial steps in the renovation process is the treatment of rust. This is where Brunox Epoxy comes in, a Swiss product that combines a rust converter and primer in one.
Why Brunox Epoxy?
- It penetrates deep into the rust, neutralises it and converts it into a stable black coating.
- It does not contain heavy metals, acids or phosphates.
- No need to sand down to clean metal, just remove loose particles.
- Creates a solid base for subsequent coats.
Application procedure:
- Clean the surface of loose rust, grease and dirt.
- Apply Brunox Epoxy with a brush or spray in one or two coats.
- Allow to dry for 12 to 24 hours depending on temperature.
- After drying, you have a finished anti-corrosion base ready for the next coats.
3. Primer with Rustbreaker Primer
Once the surface has been treated, it is important to create a filler and adhesion-enhancing layer. This is where Rustbreaker Primer comes in, ideal for use on both treated and problem areas.
Features:
- A fast drying primer available in grey, white and rust brown.
- Excellent unevenness filling, good sandability.
- Works well as a sealer for fine surface defects.
- Perfect adhesion to metal, plastic and old paintwork.
Practical tip:
Rustbreaker Primer covers well even older and inconsistent substrates. Use it for body repairs before applying a coat of paint, it saves you the hassle of sealing and sanding.
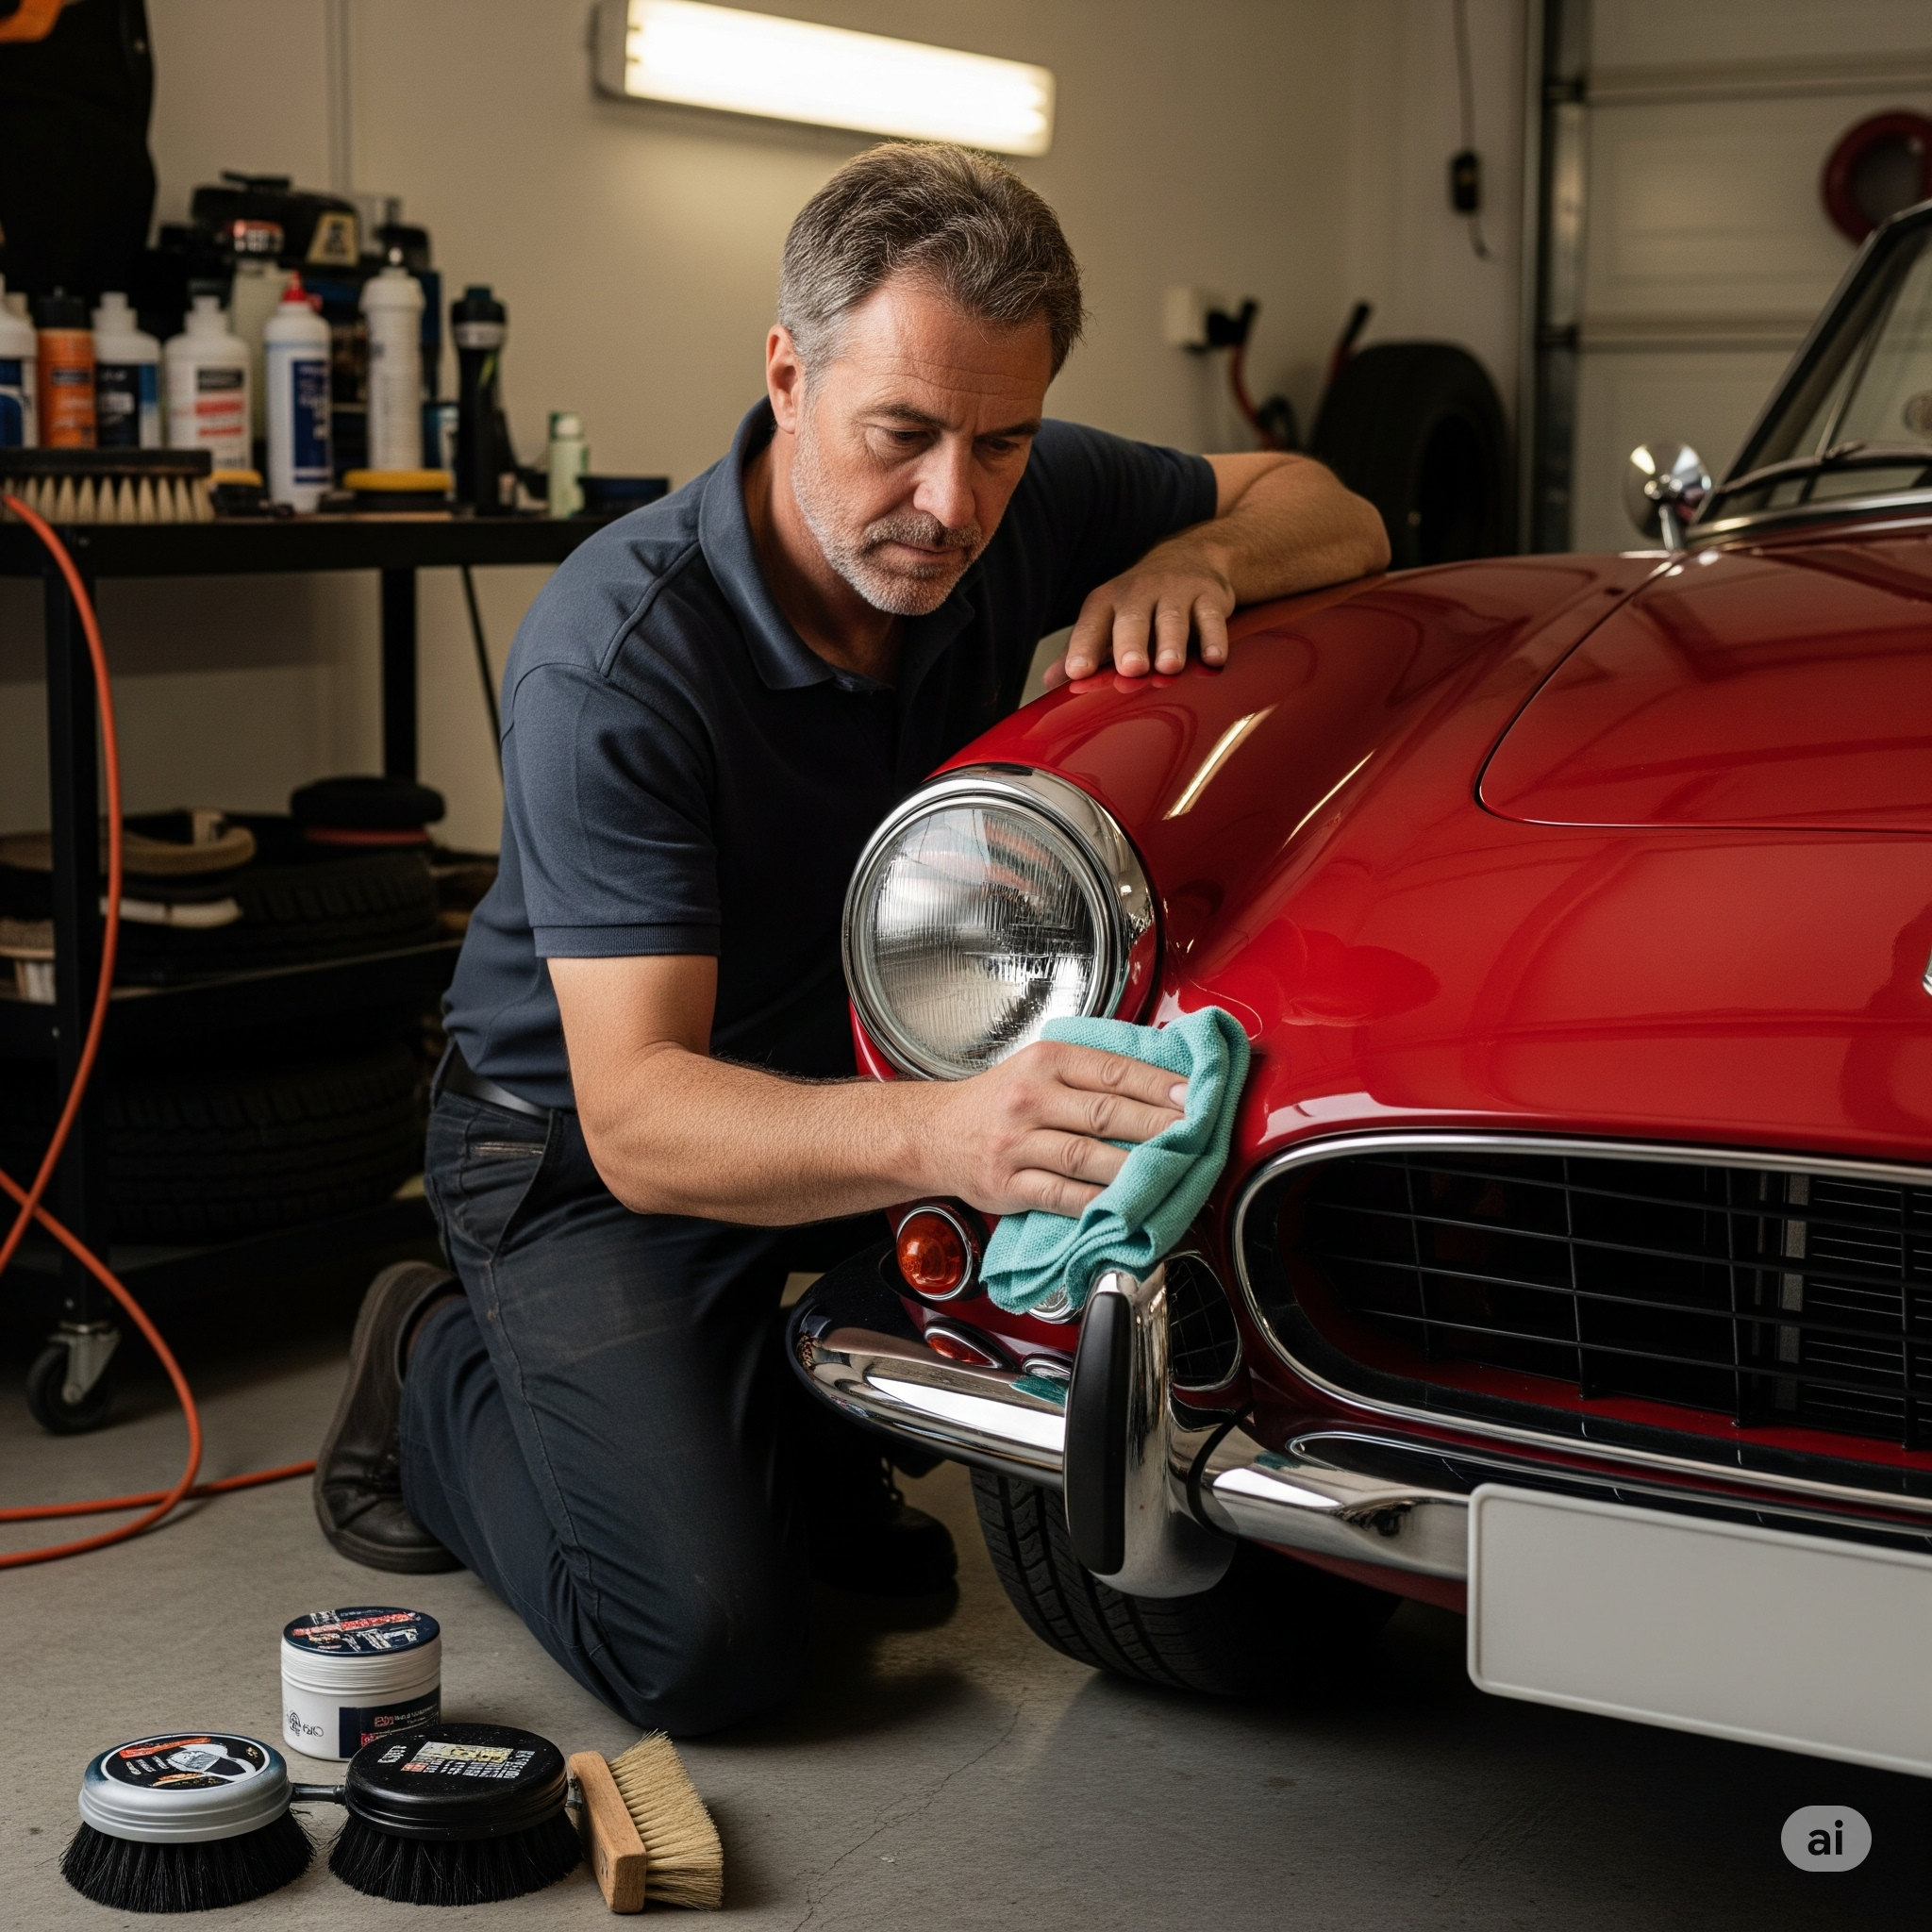
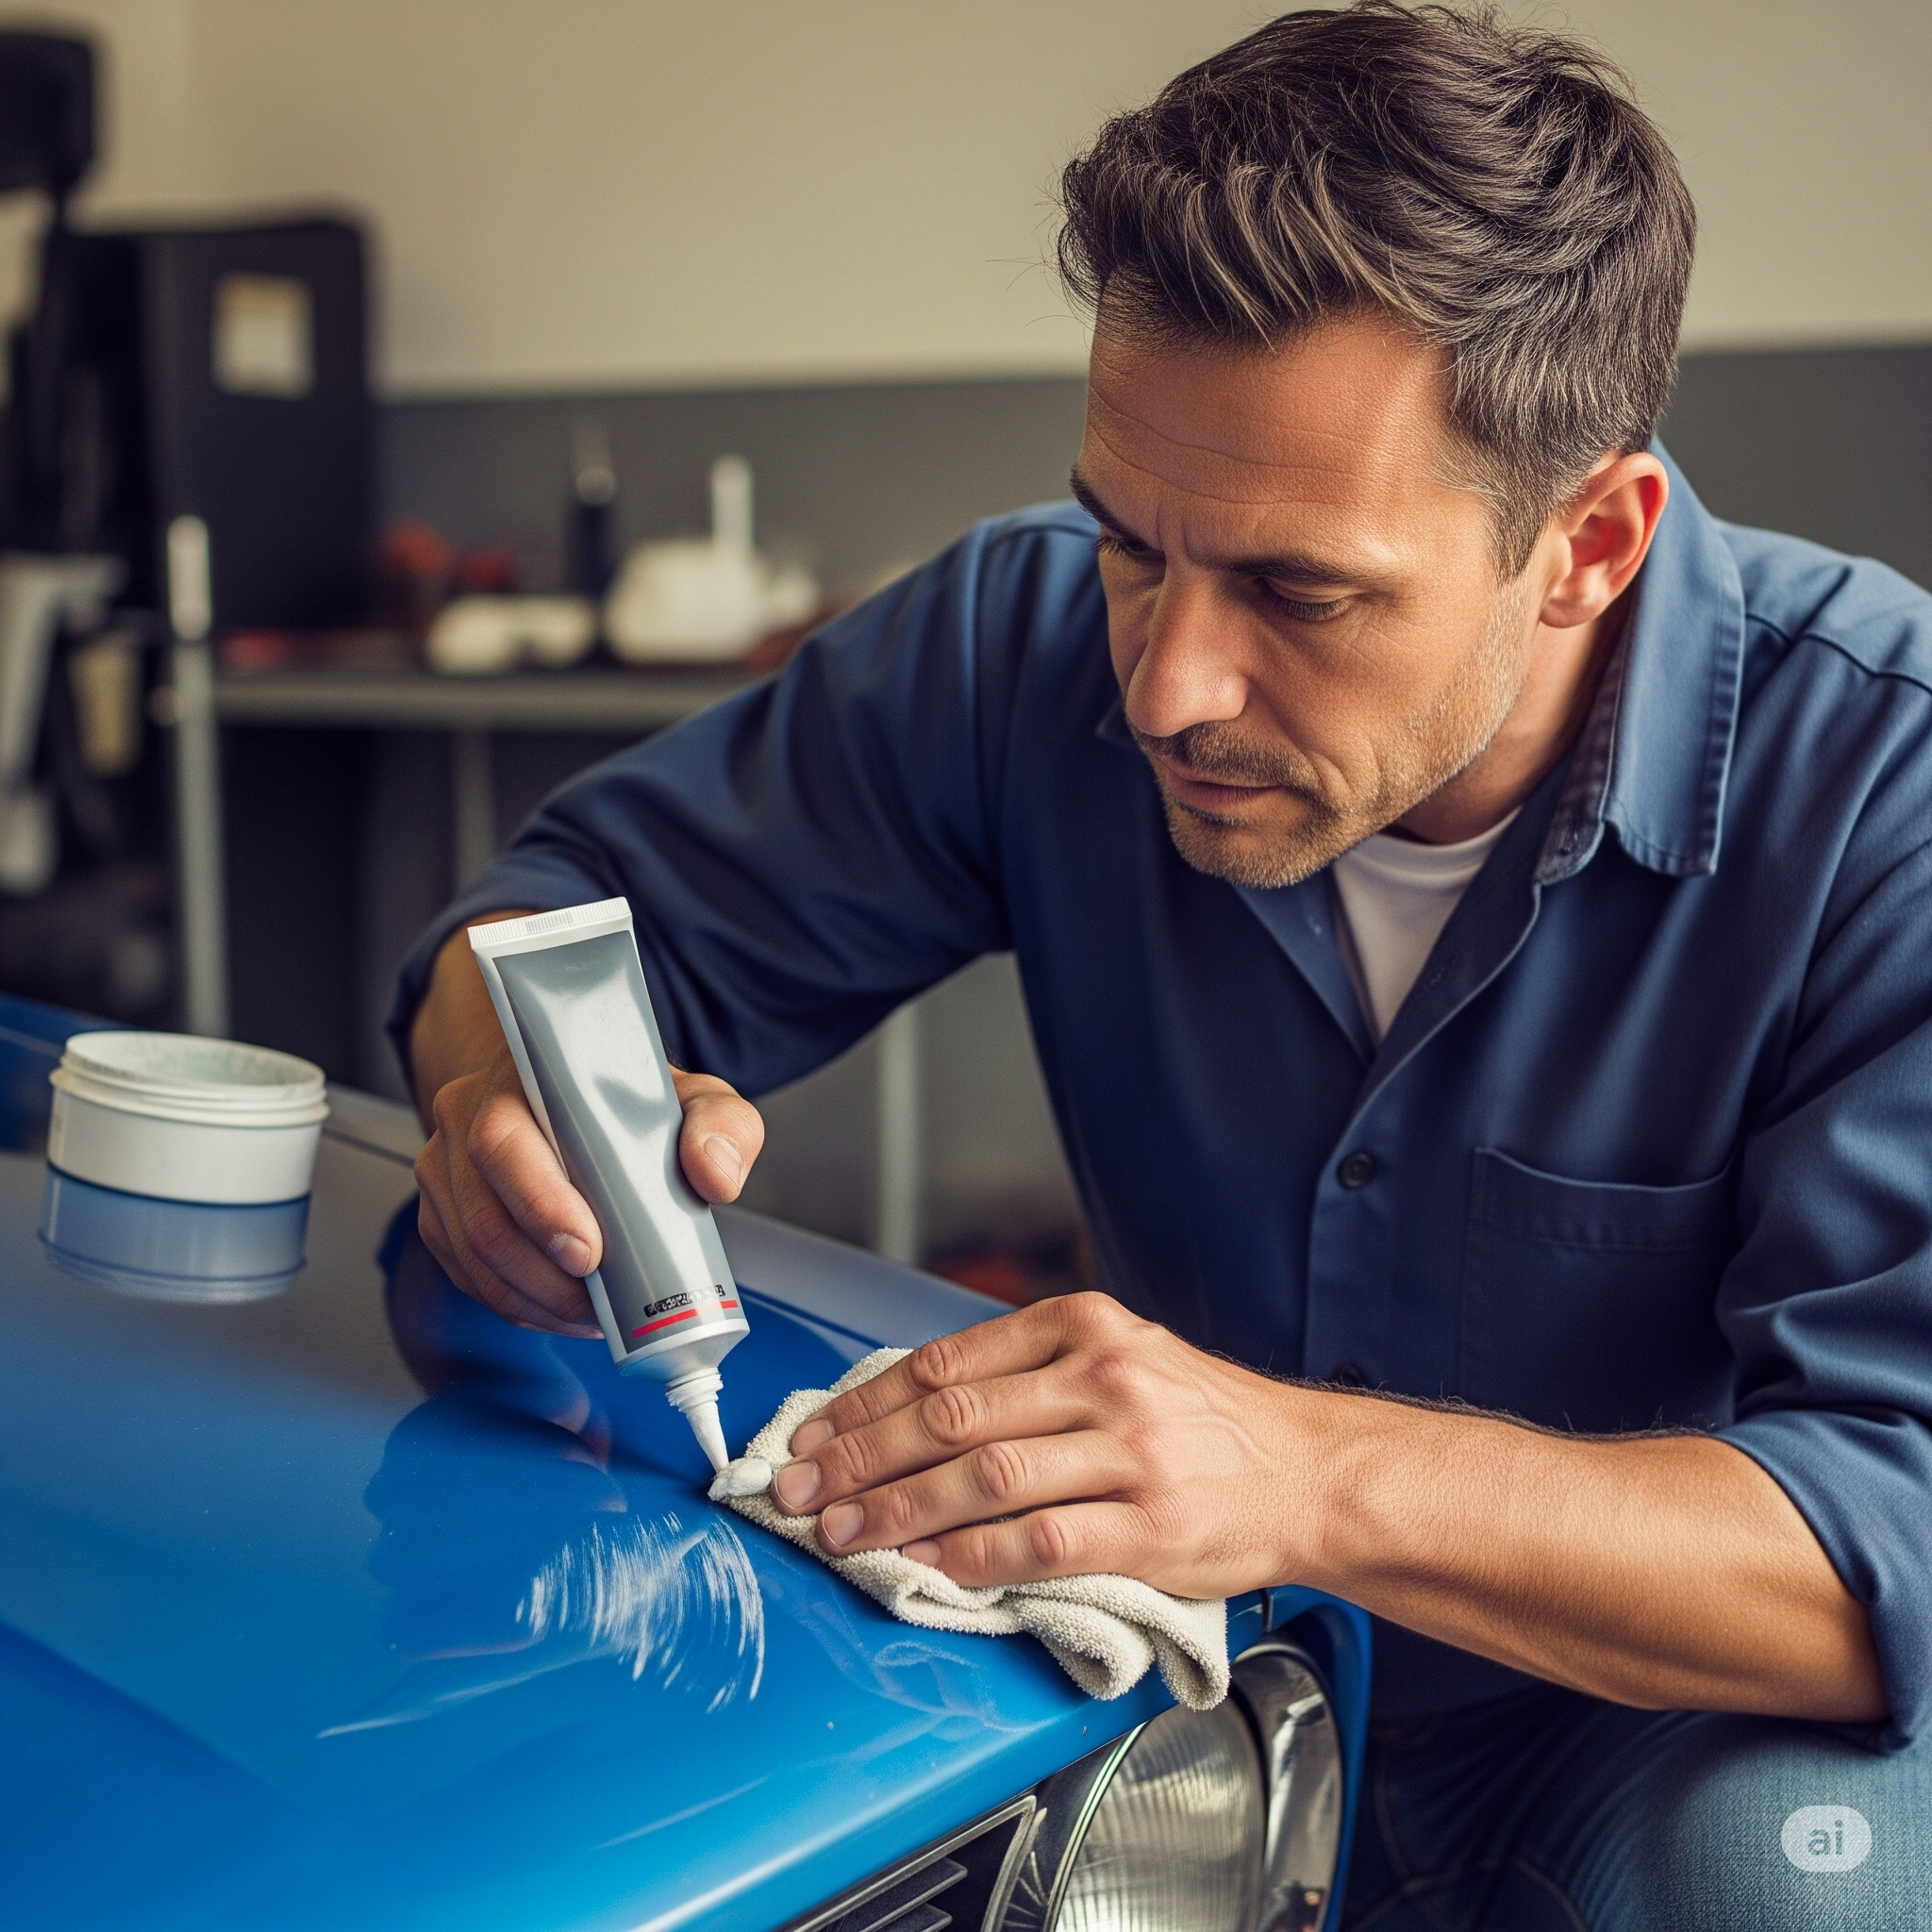
4. Final paint and protection
After treating rust and applying the primer, the final paintwork follows.
Options from COLORIT:
- RUSTBREAKER Top Coat - acrylic sprays in matt, gloss, clear coat.
- Cosmos Lac Premium RAL - precise shades, high gloss, fast drying.
- MACOTA COLOR 3G - ideal for surfaces with higher opacity requirements.
Recommended procedure:
- Light sanding of the base coat (600 grit).
- Degreasing the surface (e.g. with technical spray from the COLORIT range).
- Application of the final coat, minimum 2 coats, intermediate drying 10-15 minutes.
- For high gloss and protection, repaint with clear lacquer.
5. Chassis, cavities, wheels: don't forget the details
Professionals know that details make the difference. If you're already restoring a vintage car, it pays to spend time on the "invisible" parts.
- Undercarriage: use Rustbreaker Undercoating or ML spray to protect against moisture, pebbles and vibration.
- Cavities and sills: apply thin waxes, for example with Brunox IX 100, a flexible wax film also suitable for long-term protection.
- Wheels: Rustbreaker's Wheel Silver or Cosmos Lac's Diamond Wheel Spray will do wonders for rims.
6. Practical tips: veterans' experience
- It's not enough to just "dust off" the surface. Loose particles of rust or dust will interfere with paint adhesion. Use blowing spray or compressed air.
- Don't skimp on quality. One spray can of Brunox or Rustbreaker costs a few pennies more than a hobby product, but will last for years.
- Take your time. Allow sufficient drying time between coats - renovation is not a race.
- Consider combining it with traditional paints. For example, a base coat spray, but spray gun paint.
Protection that lasts for generations
Renovating a vintage car isn't just about looks, it's a battle against the ravages of time. With products like Brunox Epoxy, Rustbreaker Primer or Cosmos Lac RAL, you can not only stop corrosion, but create a strong, beautiful and lasting finish that will delight generations to come.
And what about the Skoda 110 R Coupé from the beginning of the story? It's now in its third season of driving to rallies, gleaming in the early evening sun. And not a drop has rusted.